The Workshop: Introduction to PDF Generation - php[architect] Magazine August 2019
Joe • September 24, 2020
learning phparch writing phpWarning:
This post content may not be current, please double check the official documentation as needed.
This post may also be in an unedited form with grammatical or spelling mistakes, purchase the August 2019 issue from http://phparch.com for the professionally edited version.
Introduction to PDF Generation
In early July 2019 I asked Reddit What questions do you have about generating PDFs w/ PHP? (Research for an article) : PHP and I was pleasantly surprised at the genuine answers and feedback I received (as opposed to the normal nonstop trolling that Reddit is usually known for). One comment listed 19 different questions! Many of the comments mention different libraries and services and I believe even one of the commercial products had a representative chime in about their solution. While I was excited to get so much interest from the Reddit community I was now a bit overwhelmed with options, this was suddenly bigger than Oscar saying “I can’t get anyone to write about this, why don’t you do it?” Now equipped with 70+ comments from internet strangers about PDF generation we’re going to explore some of the more basic options and step up in complexity with the same goal designed for each library. We’ll put the library through its paces to give a short overview so you can pick a library to try out for yourself in your own projects.
The Portable Document Format (PDF) was created in the early 1990s by Adobe Systems. PDFs were added to the desktop publishing workflow as a way to share documents without having to worry about what operating system or platform other users were on. Way before the browser wars we had the the word processing wars. Microsoft Word couldn’t open Corel WordPerfect documents and vice versa. These were the days when “Microsoft Office” experience on a job posting was very serious, as serious as we take our programming languages. This also led to “WordPerfect” based publishing shops and “Microsoft Word” shops to denote the tooling used. PDFs to the desktop publishing world was essentially a mutually agreed upon specification on how to present documents across platforms. Some twenty six years later the use case is still a big deal to just about every computer or technology user: being able to create a document that looks and feels the exact same way no matter how the document is consumed, wether via browser, desktop application, mobile email client, or any other way you can think to display a document to a user.
Until 2007 Adobe had held tight control over the PDF specifications when they announced the release of the full Portable Document Format 1.7 specification to the American National Standards Institute (ANSI). Adobe now publishes PDF extensions which an important note to remember is these extensions are not part of the PDF standards. A year after Adobe turned over the 1.7 specification, the ISO Technical Committee 171 published ISO 32000-1:2008 named “Document management – Portable document format – Part 1: PDF 1.7”. In July 2017 the ISO committee published ISO 32000-2 (PDF 2.0), the first version of the PDF specification to be developed completely by the ISO Committee process. The PDF 2.0 specification allowed the deprecation of aging parts of the original specification as well as the standardization of PDF subset standards. This allows for the extension of the PDF without having to add to the existing specification. These subsets focus on specific use case of PDF publishing such as PDF/A for long term archiving and PDF/E for Engineering (Building, Manufacturing, and Geospatial). These subsets allowed entire industries to adopt the PDF for their document publishing and sharing purposes.
The reason we’re still talking about PDFs in 2019 is because it turns out the specification is really good when it comes to making portable documents. The open specifications allowed software vendors to easily adopt PDF support into their programs and quickly just about everyone in the software world supported the format due to the simplistic ability to create and share these documents without having to reformat them, or suffer through bad effort conversion tools that would mangle the output. Chances are you’re reading this article via a PDF, or another format that was converted from a PDF. This allows php[architect] to format the magazine once, and know it’ll be displayed the same way on every platform. Think of PDFs of running your application in a container: the application will run the exact same way on any server platform much like a magazine will be displayed the same way on any viewing platform. While consuming PDFs has become quite trivial and ordinary, creating PDFs can be somewhat challenging.
Most PHP developers who work in a business that services customers in some way will likely have had to write code that turns text and graphics into a PDF file. The most common use cases in my own development career have been generating customer receipts and invoices either to match the paper copy versions to be filed away or maybe as the only copy of a receipt for a company that has gone completely digital. Nearly all ebook publishes offer PDF as a standard option to consume the materials. The healthcare industry also uses PDFs extensively to store records and forms for patients to fill out. PHP has basic PDF generation abilities via the free PDFlib library which has been unmaintained since 2010. Most developers reach for libraries to help with the task of creating PDF files. There are also commercial software as a service options for developers to use so they completely offload this task. Depending on your needs you may fit into this category. You should always look around to see who has already solved a problem before you go down the path of writing (and maintaining!) your own code. We don’t want to reinvent the wheel so we’re going to outline a somewhat basic scenario of a PDF we need to build and investigate different options to get us as close to our final product as we can.
The PHP documentation mentions two libraries specifically to get you started generating PDF files. FPDF, and TCPDF. We’re going to take a basic look at FPDF and over the next two installments of this series we’ll get more and more complex and demonstrate other libraries.
I’m going to be using Laravel because it bootstraps all the nice frontend things for me so I don’t have to worry about writing that code, I can focus on PDF generating code. If you want to look over the code you can find it on Github.
We can easily add FPDF to our application via Composer thanks to fpdf/fpdf - Packagist, which is a wrapper around the primary class:
$ composer require fpdf/fpdf
Using version ^1.81 for fpdf/fpdf
./composer.json has been updated
Loading composer repositories with package information
Updating dependencies (including require-dev)
Package operations: 1 install, 0 updates, 0 removals
  - Installing fpdf/fpdf (1.81.2): Downloading (100%)
Writing lock file
Generating optimized autoload files
> Illuminate\Foundation\ComposerScripts::postAutoloadDump
> @php artisan package:discover --ansi
Discovered Package: beyondcode/laravel-dump-server
Discovered Package: fideloper/proxy
Discovered Package: laravel/tinker
Discovered Package: nesbot/carbon
Discovered Package: nunomaduro/collision
Package manifest generated successfully.
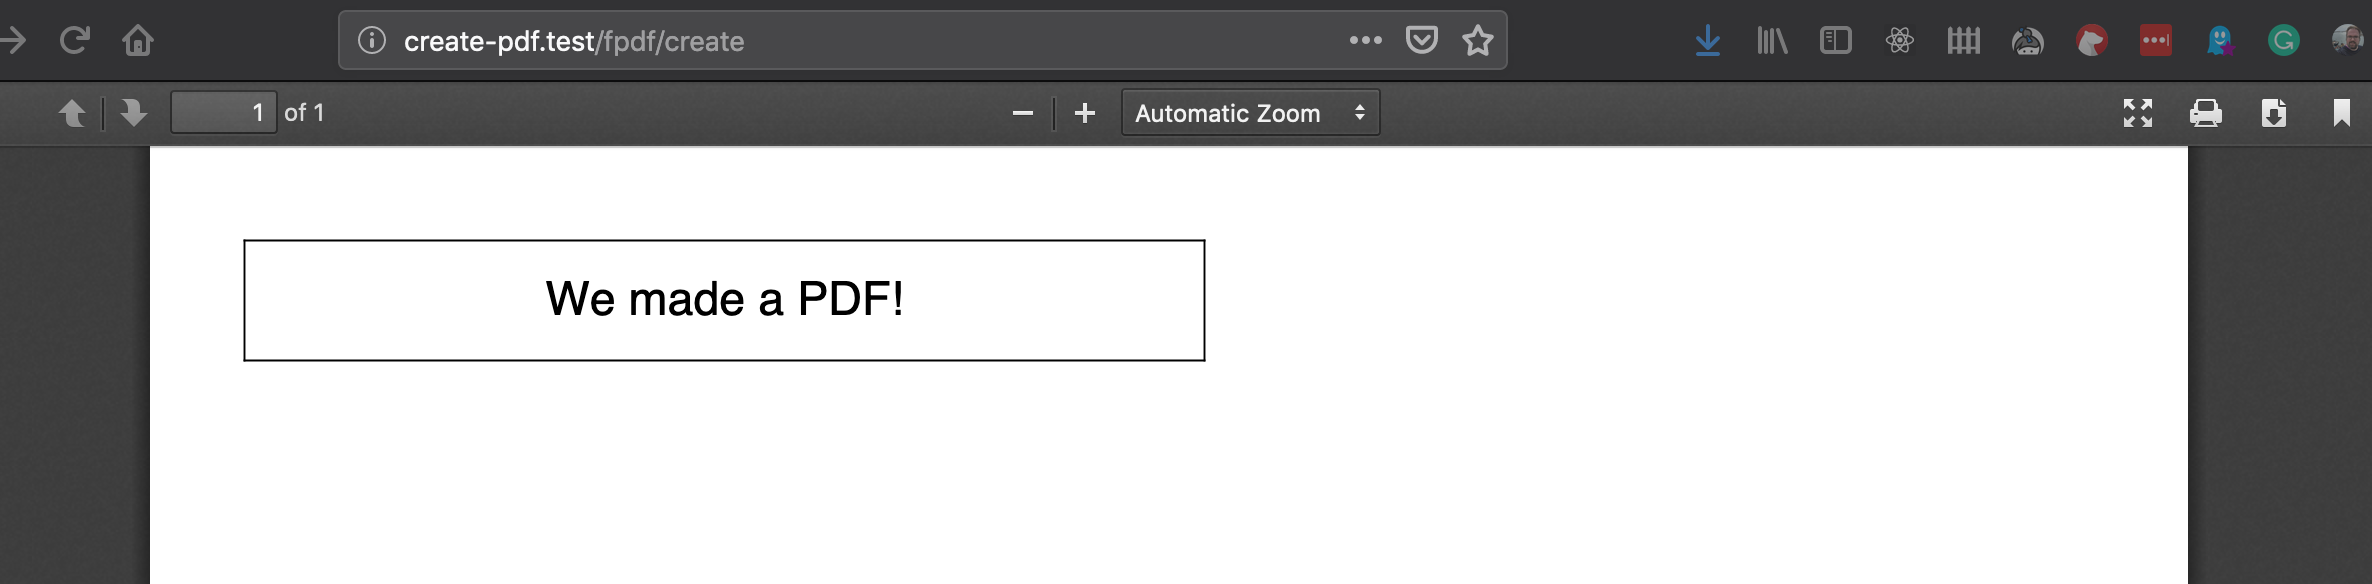
We’re going to create a new controller in our application. If you’re following along with the repository this code will be located in app/Http/Controllers/FpdfCreate.php. We start off by creating a new FPDF instance and passing in the basics: orientation (portrait), unit of measurements (in for inches), and the size (Letter). For our European friends you could also use mm for measurements and A4 for size. We continue our setup by specifying the font, style, and size we want. We’ll use Arial as our font, leave style blank (or use B for bold), and then set our size to 14. Before we get too ahead of ourselves we need to call AddPage() to create a page in our PDF file. Wouldn’t it be silly to add content before adding a page? Now that we have described how the text should appear we need to call the Cell() method to actually place something in our page. The Cell() method takes several parameters. Think of it as bootstrapping your document at a very low level, we specify height, width, and other parameters to describe how our content should be placed on the page. In the example below we use 4 for width, which will become 4 inches because we used in in as our unit when we called FPDF(). We’ll use .5, half an inch, for our height. We’ll pass a string We made a PDF! as our text to be placed on the page. The next parameter is the border, to get a feel for how cells work we’ll use LTRB which means Left, Top, Right, Bottom border lines. The second to last parameter we need to specify is the ln which is an indication where the current position should go after the call to Cell() happens. The options are 0 to go to the right, 1 to go to the beginning of a new line, or 2 which is below. We’ll use 0 as we may want to add more content later that picks up right where we left off. The last option we specify is the alignment, we specify C so that our text is centered in our 4”x.5” cell. You can view our full method:
public function createPdf()
{
    $pdf = new FPDF(‘P’,’in’,’Letter’);
    $pdf->AddPage();
    $pdf->SetFont(‘Arial’,’’,14);
    $pdf->Cell(
        4, // width
        .5, //height
        ‘We made a PDF!’, // text
        ‘LTRB’, // border
        0, // where the current position should go after the call
        ‘C’
    );

    return Response::make($pdf->Output(), 200, [
        ‘Content-Type’ => ‘application/pdf’,
    ]);
}
Since I’m using Laravel I have access to
Responsehelper class that generates a response for me. You’ll want to ensure whatever you’re using correctly sets theContent-Typeheader toapplication/pdfso that your browser correctly renders the PDF.
If we load up our URL in the browser: /fpdf/create we’ll see the following:
All of the parameters we passed to the Cell() method made sense, but ln, which means “line break”, which dictates where the curse goes after the method call, seems confusing. We intentionally used 0 in our example to be able to continue right were we left off. Lets add another cell and see how things line up:
$pdf->Cell(
    4, // width
    .5, //height
    ‘This Cell should be on the right’, // text
    ‘LTRB’, // border
    0, // where the current position should go after the call
    ‘C’
);
This added call ends up placing our new cell right next to the first cell we created as we would expect:

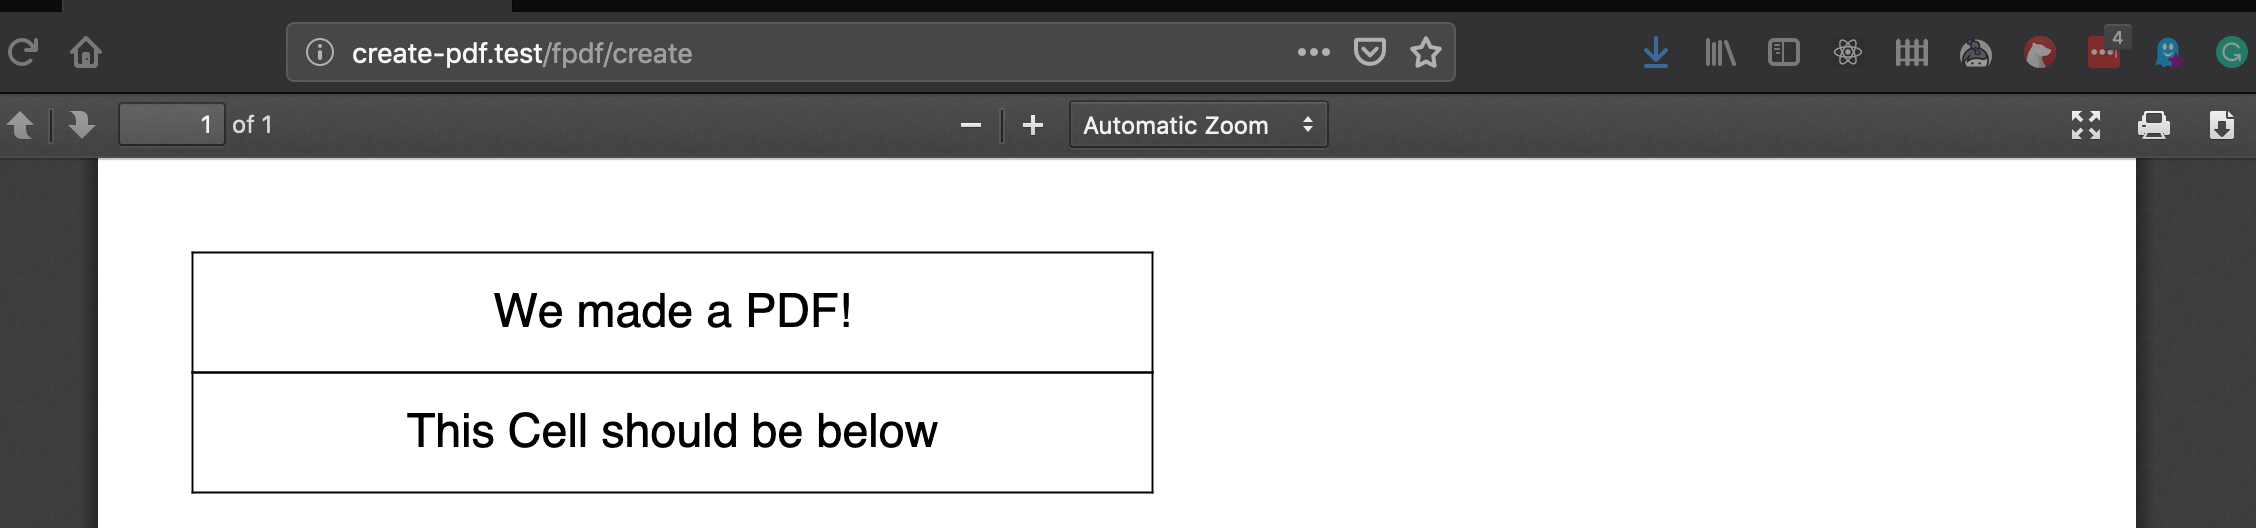
What if we wanted to move the cell on the right to below our first cell? We can easily adjust the code to the following:
$pdf->Cell(
    4, // width
    .5, //height
    ‘We made a PDF!’, // text
    ‘LTRB’, // border
    1, // where the current position should go after the call
    ‘C’
);
$pdf->Cell(
    4, // width
    .5, //height
    ‘This Cell should be below’, // text
    ‘LTRB’, // border
    0, // where the current position should go after the call
    ‘C’
);
If we refresh our browser we’ll see the cell which was on the right is now below our first cell:
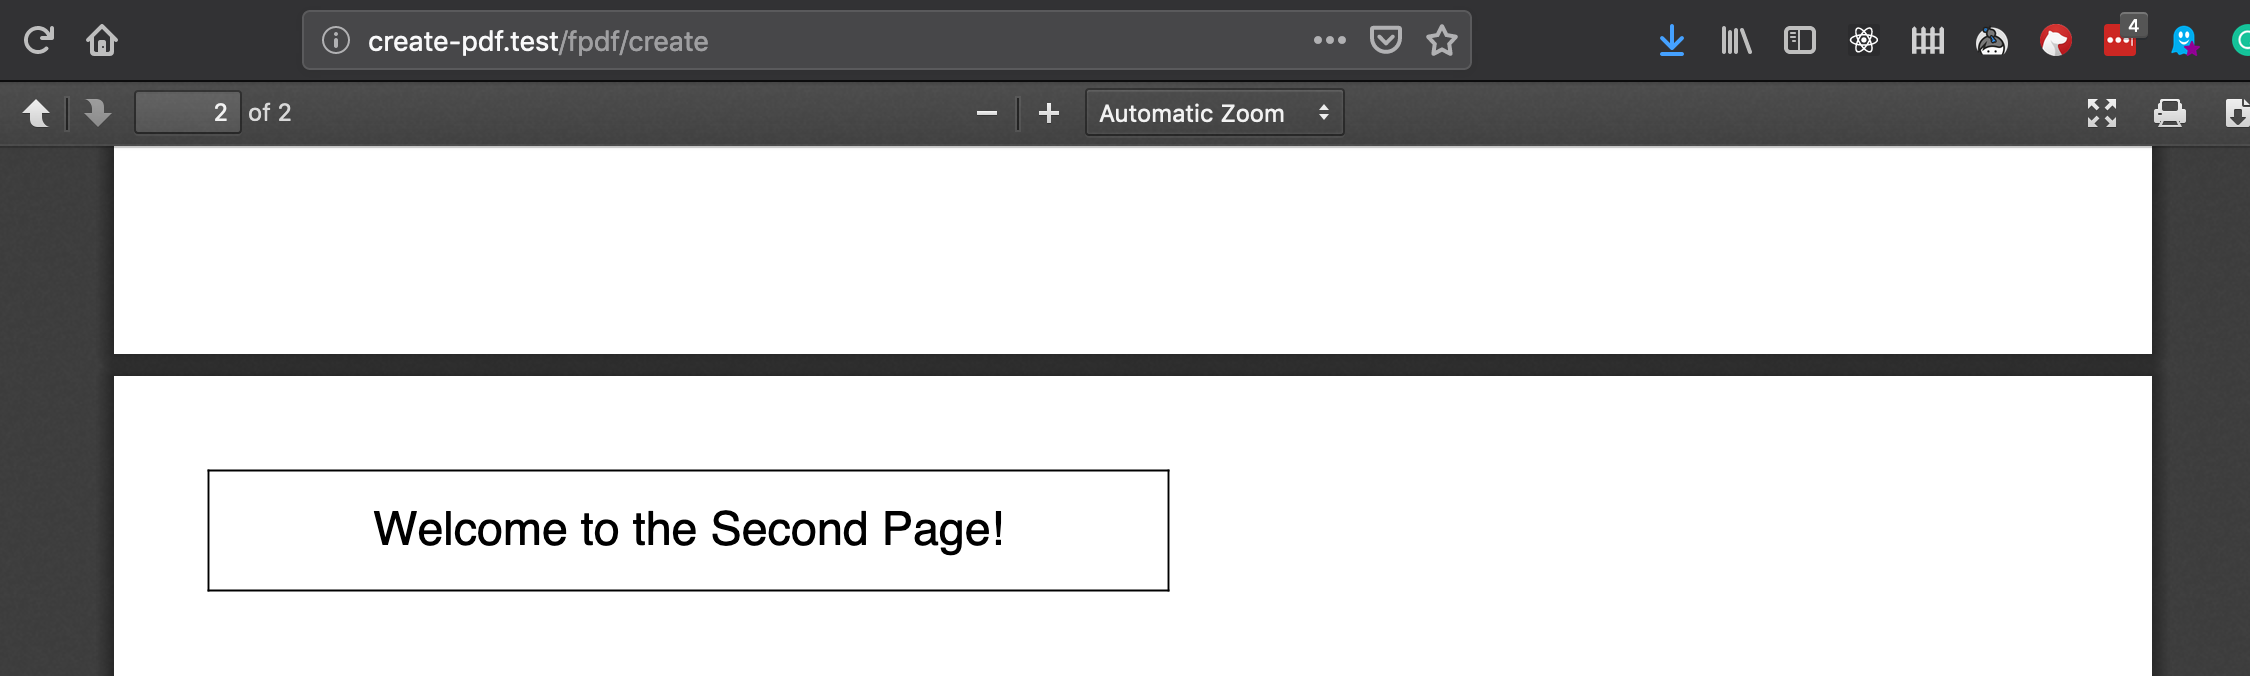
We could also add another page and move one of our boxes off the first page by calling AddPage() again:
$pdf->Cell(
    4, // width
    .5, //height
    ‘We made a PDF!’, // text
    ‘LTRB’, // border
    2, // where the current position should go after the call
    ‘C’
);
$pdf->AddPage();
$pdf->Cell(
    4, // width
    .5, //height
    ‘Welcome to the Second Page!’, // text
    ‘LTRB’, // border
    0, // where the current position should go after the call
    ‘C’
);
Now when we refresh our browser we can scroll down to page 2 to see our second cell:
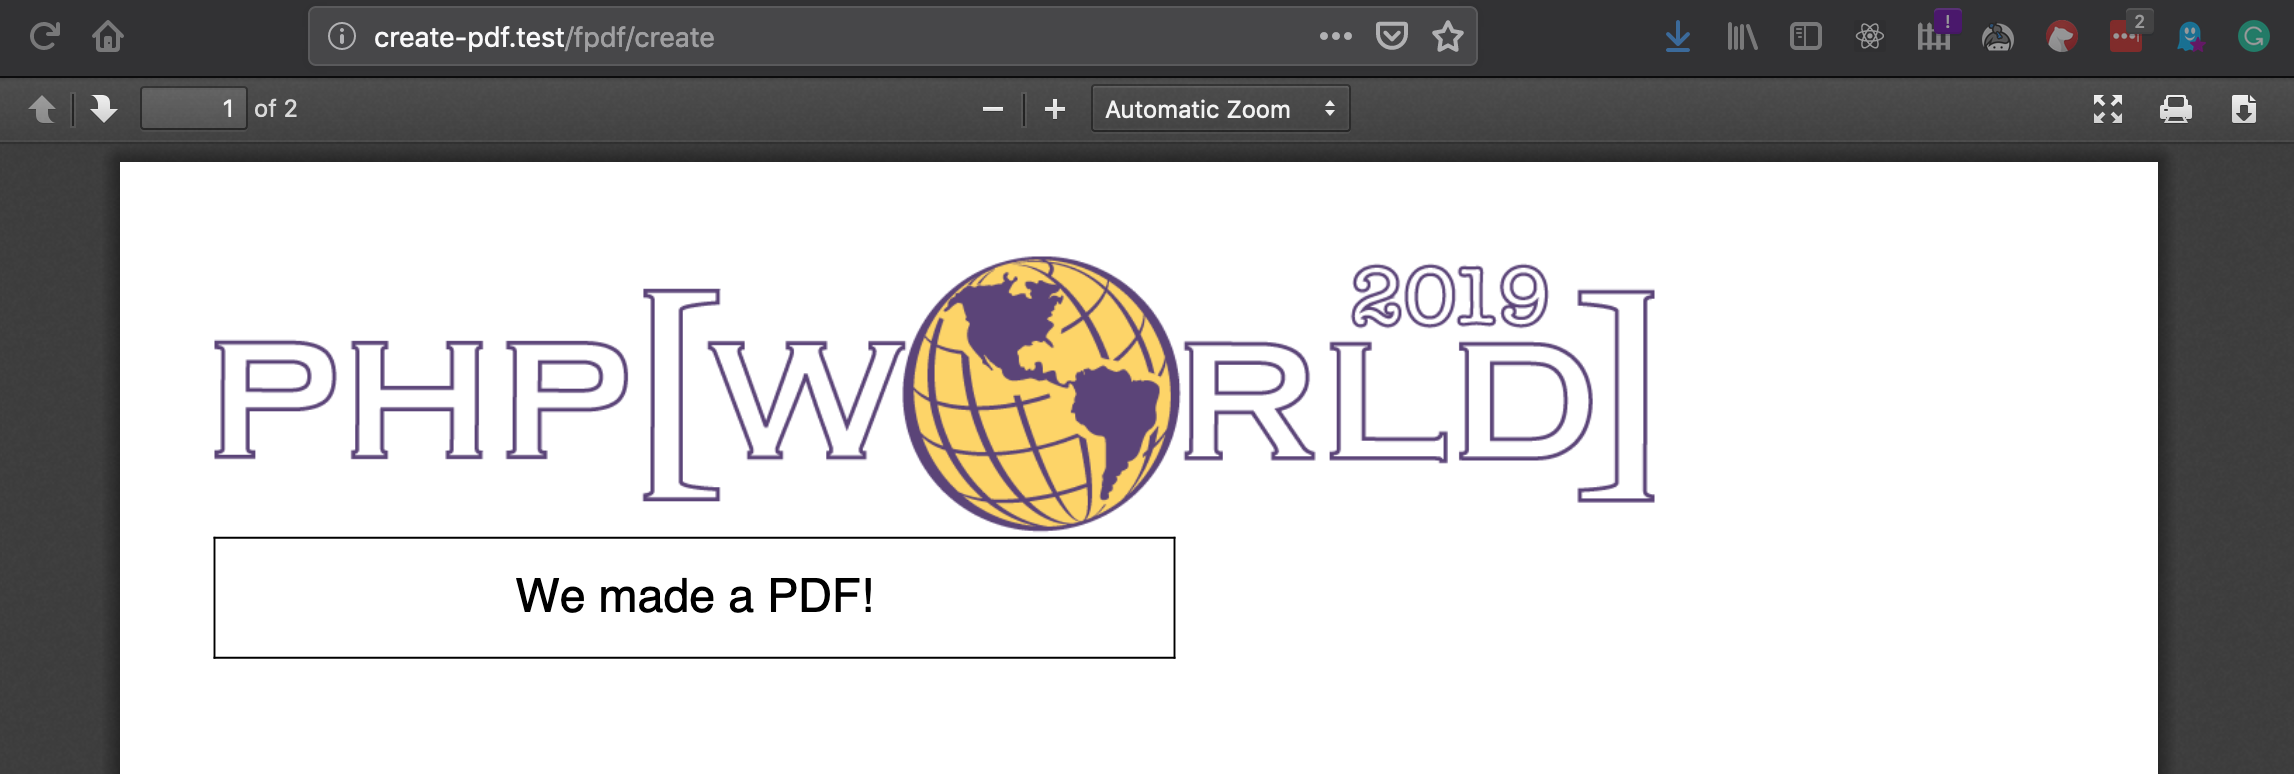
The last thing we’re going to cover this month is adding images. We can add an image to our PDF by placing the image in an accessible folder within our application (such as the application root, or where you store your images. Since I’m using Laravel I’m going to use the storage_path helper to easily determine the path to my files. The Image() method takes several parameters as you would expect with the first being the path to the image file itself, we’re going to skip over the next two, which are x and y which are coordinates of where the image should be placed. By leaving these null the image will be placed where the cursor currently exists, at the start of the document. We’ll then pass 6 in as the fourth parameter to set the image width to 6 inches.
$pdf->Image(
    storage_path() . ‘/app/public/world2019.png’,
    null,
    null,
    ‘6’
);
Refreshing our browser we can see the phpworld 2019 logo. (Make sure you have your tickets!):
We’ve covered the basics of getting started and building simple PDFs with PHP & FPDF. We’re not quite ready to take this PDF into production yet. Next month we’ll cover a practical scenario of PDF generation by creating receipts for customers who bought an item from our fictitious online store.
Happy Coding!
Warning:
This post content may not be current, please double check the official documentation as needed.
This post may also be in an unedited form with grammatical or spelling mistakes, purchase the August 2019 issue from http://phparch.com for the professionally edited version.
As Seen On
Recent Posts
- PHP to Rust via Copilot
- Compiling Python 3.12 from Source Tarball on Linux
- HTML Form Processing with PHP - php[architect] Magazine August 2014
- The Workshop: Local Dev with Lando - php[architect] Magazine November 2022
- Getting back into the swing of things
- All Posts
Categories
- ansible
- apache
- applesilicon
- aws
- blackwidow
- cakephp
- community
- composer
- conferences
- copilot
- data-storage
- day-job
- devops
- docker
- fpv
- general
- github
- givecamp
- homestead
- jigsaw
- joindin
- keyboard
- laravel
- learning
- linux
- maker
- mamp
- mentoring
- music
- nonprofit
- opensource
- packages
- php
- phparch
- projects
- provisioning
- python
- razer
- rust
- s3
- security
- slimphp
- speaking
- static-sites
- storage
- testing
- tiny-whoop
- today-i-learned
- training
- ubuntu
- vagrant
- version-control
- windows
- writing
- wsl
- wsl2
- zend-zray