The Workshop: Local Dev with Lando - php[architect] Magazine November 2022
Joe • July 5, 2023
learning phparch writingWarning:
This post content may not be current, please double check the official documentation as needed.
This post may also be in an unedited form with grammatical or spelling mistakes, purchase the November 2022 issue from http://phparch.com for the professionally edited version.
The Workshop: Lando Local Dev
This month we’re going to visit a topic that is near and dear to my heart: local development environments. I’ve been maintaining Laravel Homestead since late 2016 and have been a longtime tinkerer of just about every local development tool you’ve ever heard of and they all have their strengths and weaknesses. Lando is just about the only tool I haven’t had a chance to dive into so join me in this dive into the world of local development with Lando.dev.
One Lando feature which initially drew my curiosity was the claim that “Lando can isolate all your dev needs on a per app basis”. This sounds great but I can show you long commit histories of tools and services with similar claims that have come and gone over the years from my projects. Lando is going to wrap our development environment services in Docker and use a proxy service to serve our application to a local development URL. Lando comes bundled with Docker Desktop on macOS and Windows so you’re ready to go out of the box on a fresh installation. Lando differs from Valet where the services will be running in Docker containers instead of directly on your system. What sets Lando apart from Homestead is you’re only virtualizing the necessities required to operate the application instead of the entire computer and operating system. Lando is going to eat a lot of resources so beware the more power your machine has will ensure a smoother runtime experience.
We’ll configure a project with Lando; a member management system that utilizes Apache, PHP 8.0, MySQL, and Redis in production. Before we get too far ahead of ourselves we should start with downloading and installing Lando. We’ll download Lando from their official GitHub releases and select our package preference. I’m running Lando on a first-generation M1 Apple Silicon mac mini with 16GB of RAM. Lando supports Linux, Windows, and macOS which is a welcome feature of any local development tool. We all know developers rarely agree on operating system choices and when tools can support all of the options it greatly reduces the friction teams may have when adopting new tools. Isn’t this cross-platform compatibility the future we were all promised?
Install Lando
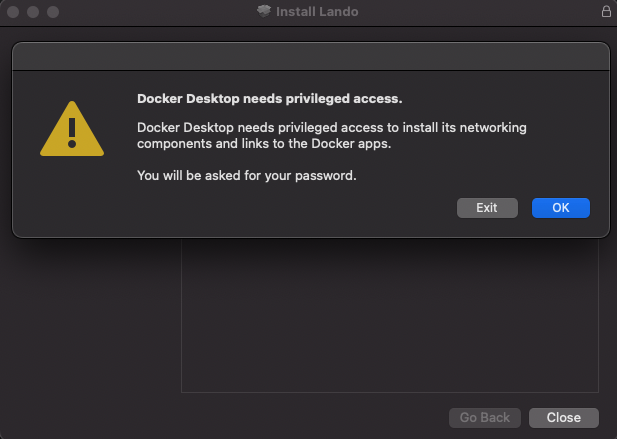
You will be prompted for your password
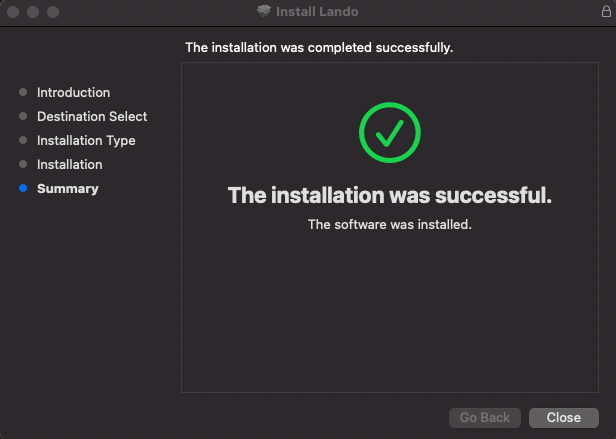
Lando installation successful
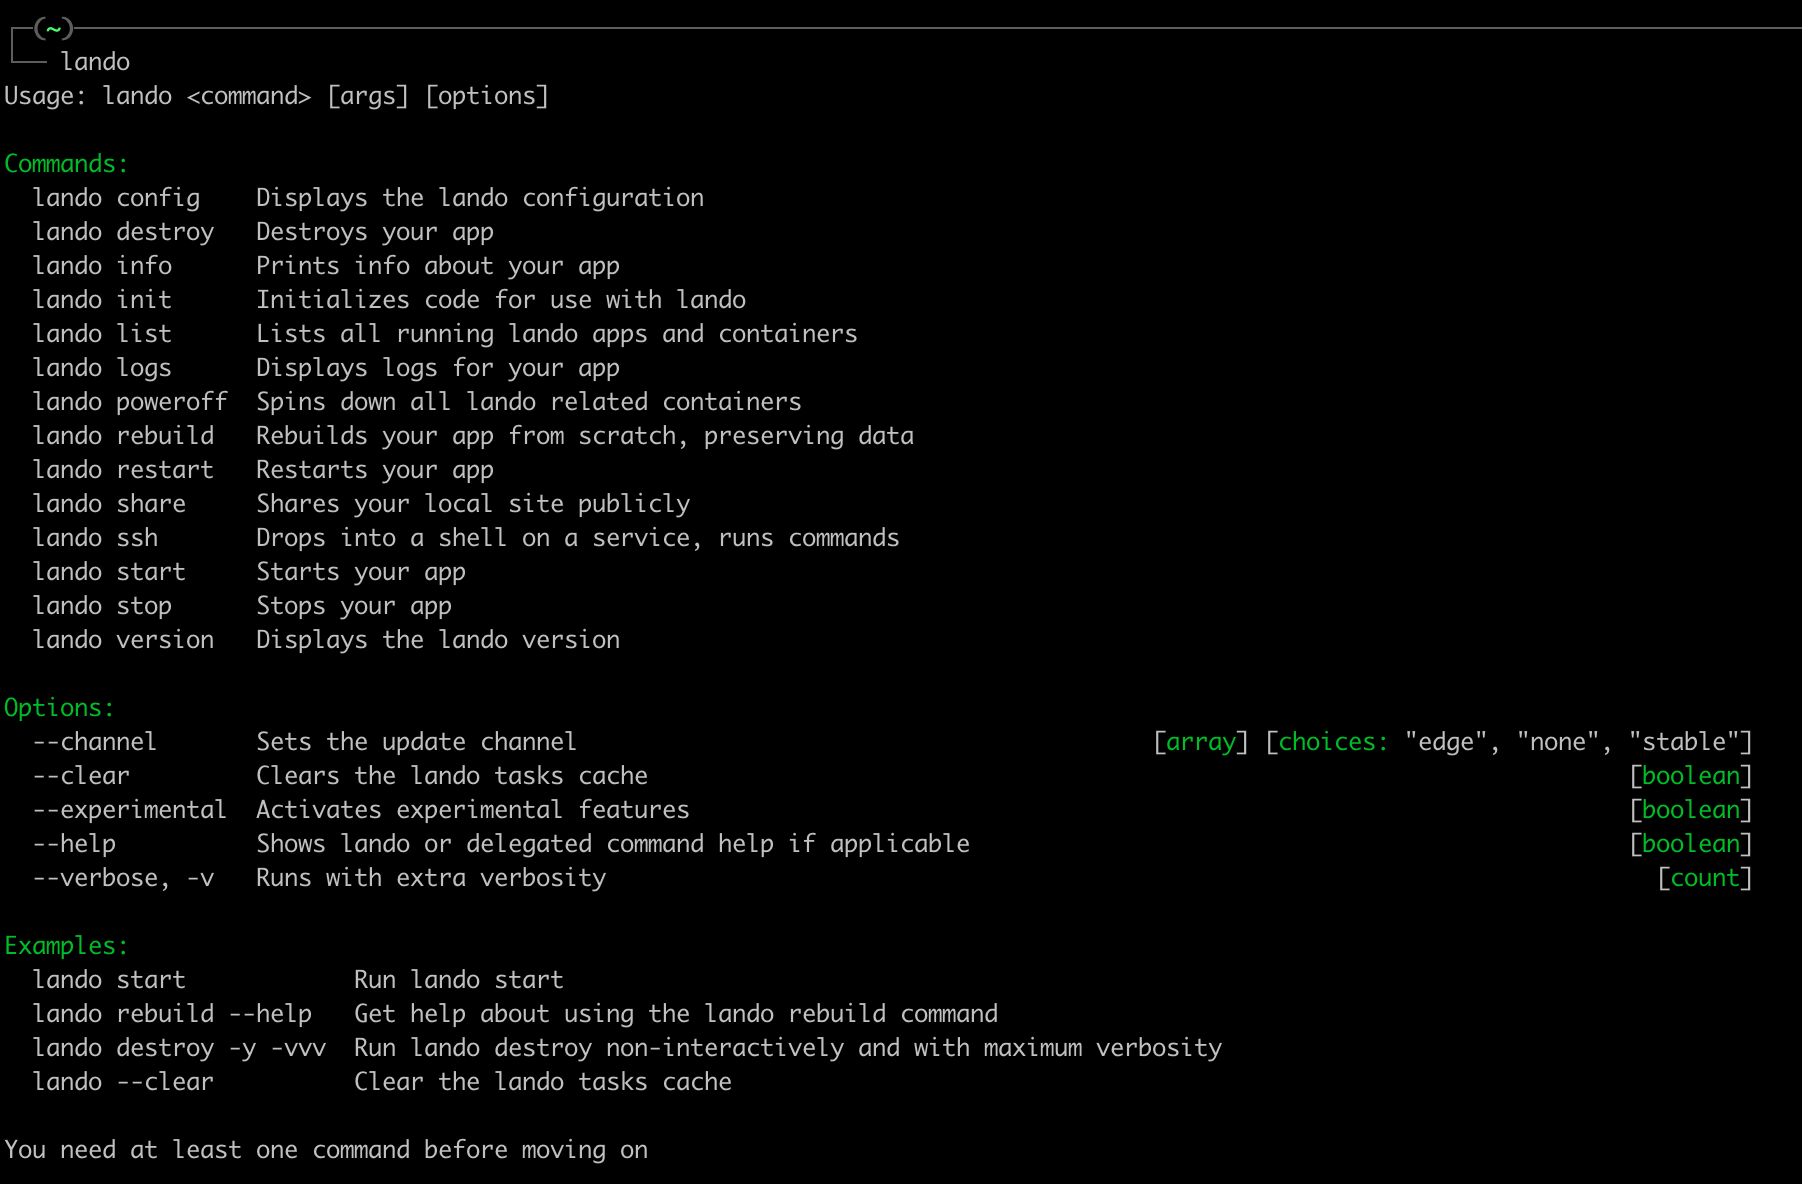
We now have access to the lando command
Running lando init to create our configuration will begin a series of questions we answer about our project so Lando can create the appropriate services we need. We’ll select the current working directory for our project, Laravel, specify our public folder, and then name our application.
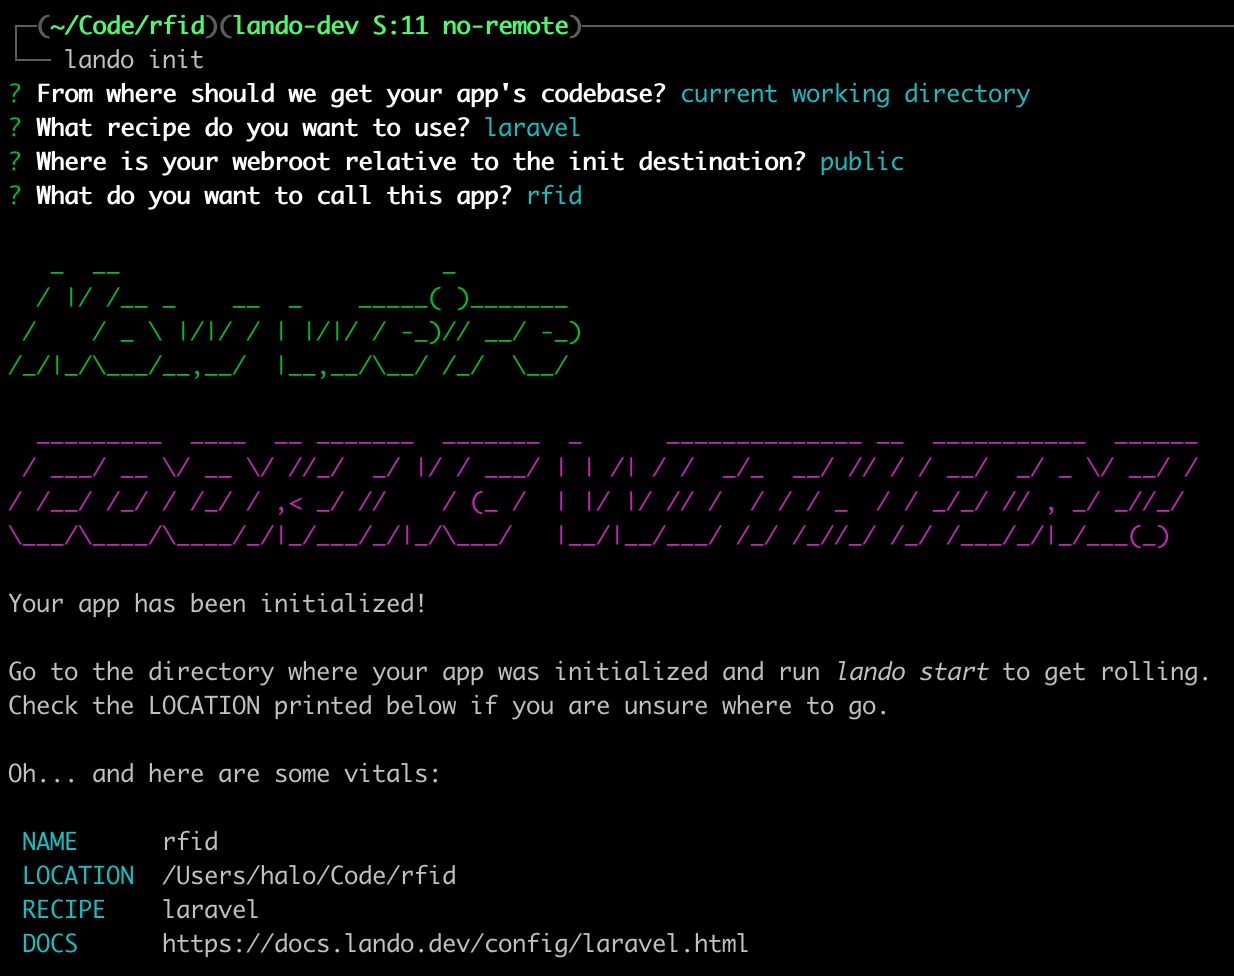
Running lando init to create our configuration
The result of our init command outputs a .lando.yml configuration file. We need to override the defaults which we can do by passing them in the config top-level item. We’ll set our PHP version to 8.0, enable Xdebug, and specify MySQL as our database. We’ll also leverage Lando’s built-in service to add our Redis service to our configuration.
name: rfid
recipe: laravel
config:
  webroot: public
  php: '8.0'
  database: mysql
  xdebug: true
  cache: redis
The recipe we’re using is laravel but we want to understand that Lando’s Recipes are high-level abstractions containing routing, services, and tooling for the particular project to be applied when starting Lando.
Lando Start!
With our configuration complete we’re ready to lando start which unleashes a lot of things. Lando takes over and downloads all the required Docker container images it needs to configure our application and the supporting services.
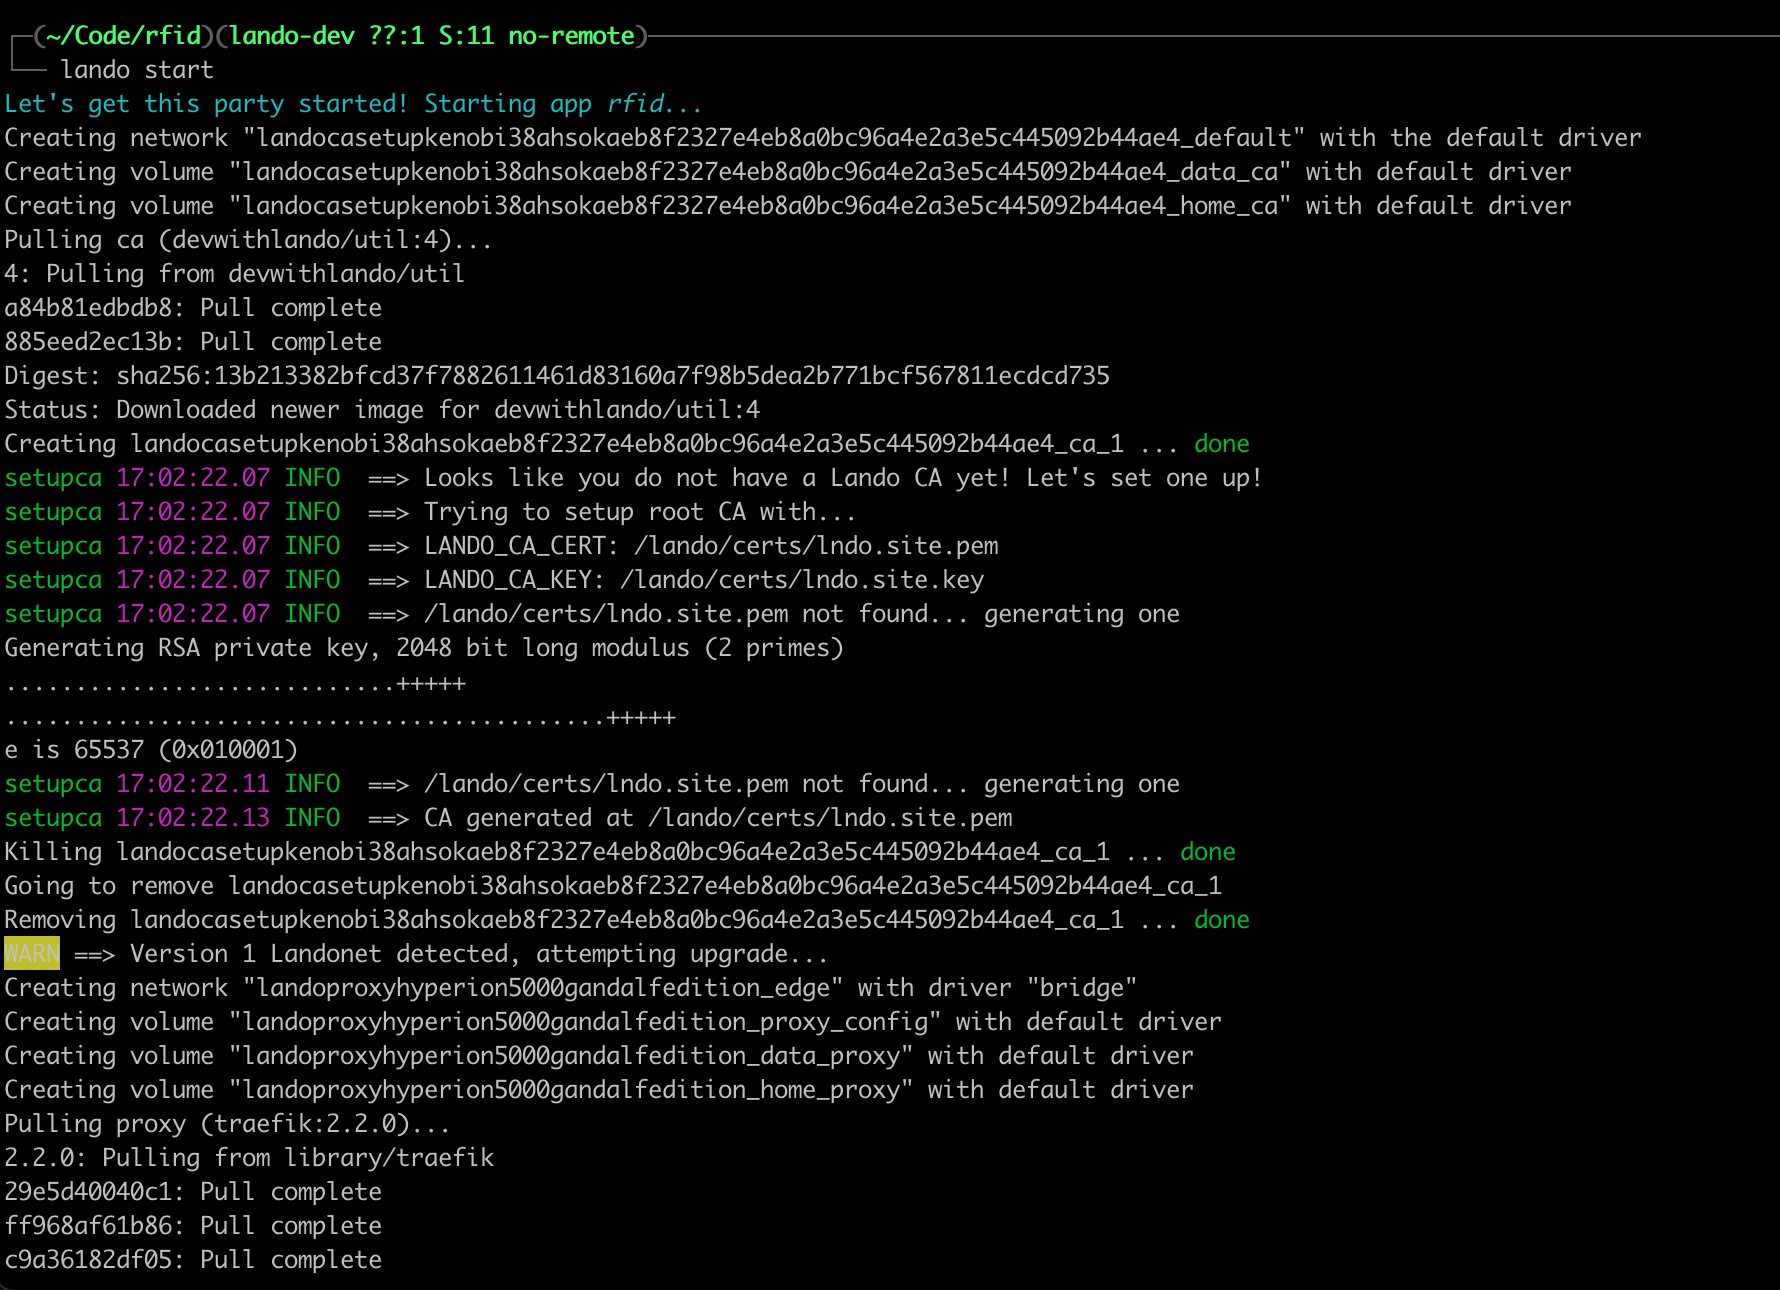
lando start kicking off
Depending on your connection speed and how many Docker images you may not already have on your system you should arrive at the “Booomshakalaka!!!” screen indicating success on my M1 system this took just over 3 minutes.
Success!
If you’re curious about what’s happening behind the scenes we can run docker ps to see the services running: rfid_rfid-redis_1, bitnami/mysql:5.7.29-debian-10-r51 our database, devwithlando/php:8.0-apache-4 Apache/PHP, and traefik:2.2.0 which is used to make all of the URL proxy magic happen without us having to understand reverse proxies and a lot of other logic that our time would be better spent on building our awesome application, not fighting our development environment.
What if we forgot a service or want to change something? We can use this as an example of how to add a new service to our application: Mailhog for local mail processing. We’ll update our .lando.yml configuration file:
services:
  mailhog:
    type: mailhog:v1.0.0
    portforward: true
    hogfrom:
      - appserver
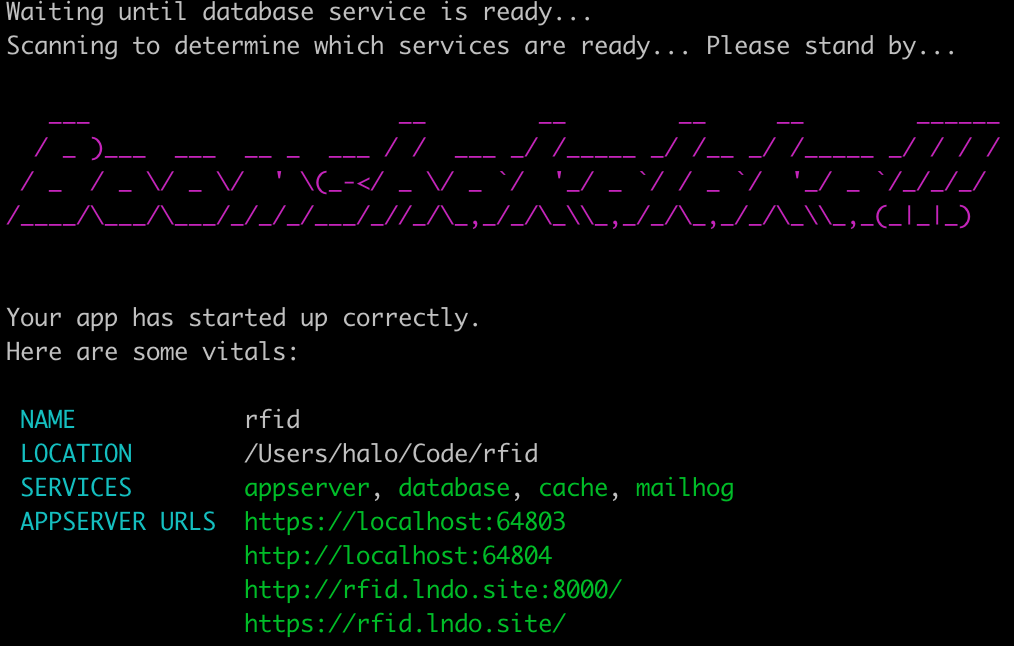
Next we’ll use lando rebuild -y to apply our changes and reload our application. the rebuild operation took about 2 minutes and resulted in adding our Mailhog URLs.
Your app has started up correctly.
Here are some vitals:

 NAME            rfid
 LOCATION        /Users/halo/Code/rfid
 SERVICES        appserver, database, cache, mailhog
 APPSERVER URLS  https://localhost:64387
                 http://localhost:64388
                 http://rfid.lndo.site:8080/
                 https://rfid.lndo.site/
 MAILHOG URLS    http://localhost:64386
We’ll also need to update our application’s .env to point it at Lando’s services:
...
APP_URL=https://rfid.lndo.site
APP_SERVICE=rfid.lndo.site

DB_CONNECTION=mysql
DB_HOST=database
DB_PORT=3306
DB_DATABASE=laravel
DB_USERNAME=laravel
DB_PASSWORD=laravel
...
We can use Lando’s built in lando mysql command to jump directly into a MySQL shell which can be helpful for debugging our database.
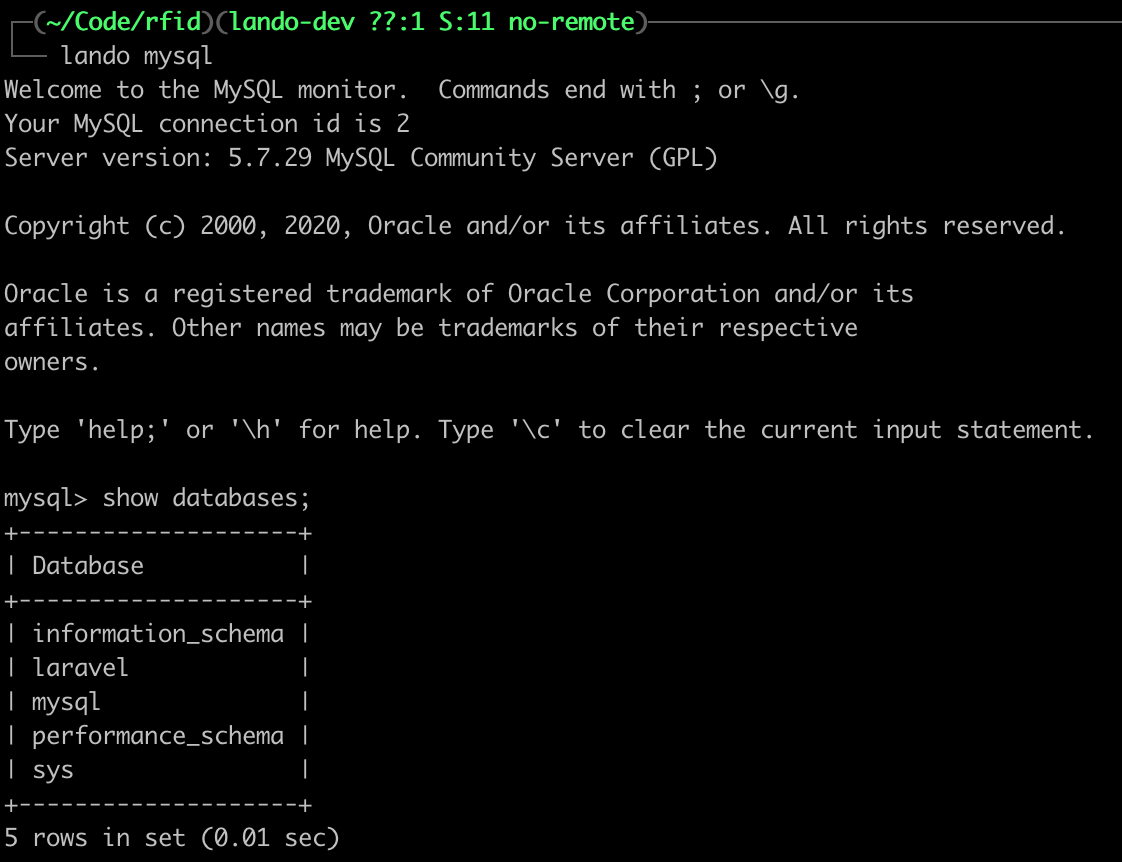
lando mysql command usage
If you would prefer to use a graphical SQL client you can retrieve the port information from lando info; which returns information about the services of the project.
{ service: 'database',
    urls: [],
    type: 'mysql',
    healthy: true,
    internal_connection: { host: 'database', port: '3306' },
    external_connection: { host: '127.0.0.1', port: '64802' },
    healthcheck: 'bash -c "[ -f /bitnami/mysql/.mysql_initialized ]"',
    creds: { database: 'laravel', password: 'laravel', user: 'laravel' },
    config: {},
    version: '5.7',
    meUser: 'www-data',
    hasCerts: false,
    hostnames: [ 'database.rfid.internal' ] },
We can see our database service is listening for external_connections on IP 127.0.0.1 and port 64802. We can plug these values into PhpStorm for example:
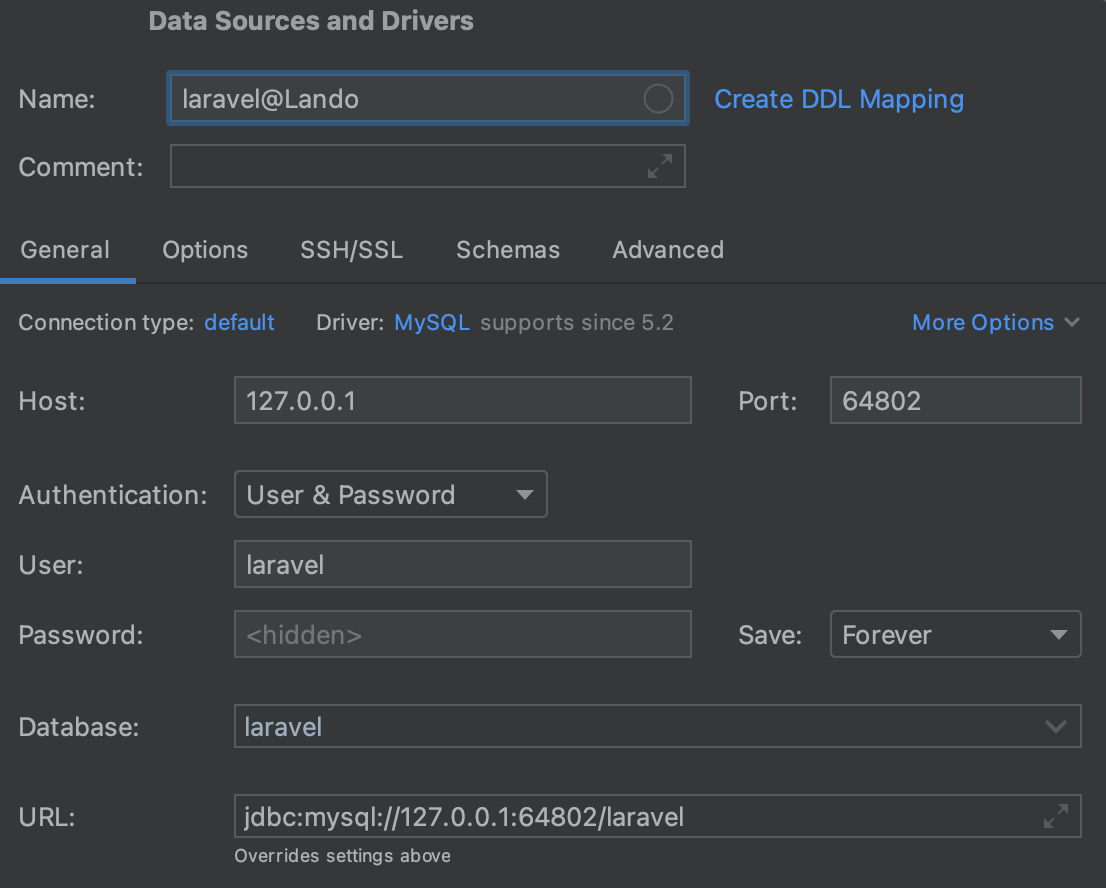
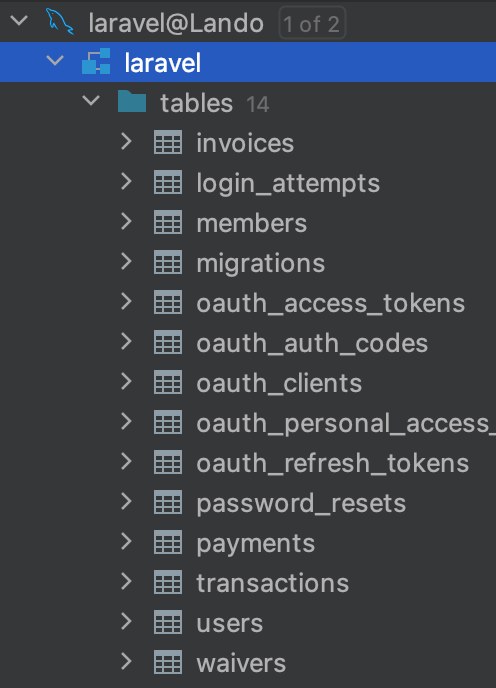
We can see our database from PhpStorm by connecting it to Lando’s MySQL service.
Using and Abusing Lando
Since we’re starting fresh in a new database we need to run our migrations and database seeds. Traditionally we’d do this with php artisan commands but to run them in the correct container we can use lando artisan migrate and lando db:seed to set up our application. If something goes wrong we can trash everything we’ve done so far via lando destroy which will delete the database and anything in the application’s storage folder. If you want something less destructive lando stop will stop all running services. If you’ve reached this far and you’re done, you can also uninstall Lando easily and return to your preferred local development environment.
Just as we added lando to our artisan and db commands we can use lando composer install or other Composer commands on our project just as we typically would to install dependencies or adjust other options.
Another common task is exporting and importing databases for our project. We can use lando db-export filename to export our DB to a local file. To import a SQL export into our database we would use db-import filename. Neither of these commands requires us to rebuild the environment, you should see the changes immediately after the import.
What about NPM and Node, how do we run npm run dev to build our front-end assets? We can add a NodeJS service to our .lando.yml and provide a command to run such as npm run dev. In my use cases I still typically run NPM commands directly on my files instead of connecting to the running container such as lando artisan and lando php commands would. This is a personal preference and you should use what makes the most sense to you. Our updated .lando.yml adding Node might look like this:
services:
  mailhog:
    type: mailhog:v1.0.0
    portforward: true
    hogfrom:
      - appserver
  node:
    type: node:16
    command: npm run dev
Since we’ve changed our configuration file we need to run lando rebuild -y to apply the changes and we’ll see another port added for our Node URLs:
NAME            rfid
LOCATION        /Users/halo/Code/rfid
SERVICES        appserver, database, cache, mailhog, node
APPSERVER URLS  https://localhost:50803
                http://localhost:50804
                http://rfid.lndo.site:8080/
                https://rfid.lndo.site/
MAILHOG URLS    http://localhost:50799
NODE URLS       http://localhost:50800
You’ll want to add this Node service to your configuration if you want to run these commands inside Lando. There are some things to consider with this as your node_modules PATH variable may not be what you’d expect since they’ll be paths for the container services and not what you might be used to. Experiment and see what come up with, there’s certainly the ability to override and change behaviors around Lando so I would expect just about any project would be able to get up and running quickly.
But I need MSSQL! Lando’s got you covered with a MSSQL plugin. But we use a highly specialized Varnish caching layer! Lando has you covered with a Varnish plugin. What makes me excited about Lando is it makes adding these services trivial, and when you remove the complexity of configuring and installing services you enable developers to use those tools and experiment with other solutions. Lando isn’t just for Laravel, whether it’s supported via Services or Recipes you can easily use WordPress, Joomla, Drupal, Symfony, and just about any other PHP framework you might be interested in. We’ve only configured one application with Lando, you can keep adding sites or start removing them as much as you’d like to and as much as you have the system resources to run all of the services.
What’s the result of our Lando test drive? One added file to our project which is our .lando.yml file and our entire development environment is created from there. This is an incredibly powerful tool as even something such as Sail requires adding supplemental files and configuration templates to your project folder. We’re also using many defaults so we’re not near Lando’s limits and our modest M1 2020 system is not showing any signs of stress such as other applications lagging and becoming unresponsive. Granted you may need to add custom configuration files to override PHP configurations like you would with Laravel Sail. Lando has been a breath of fresh air for someone who has a lot of opinions on how local development environments work.
Lando is a pretty fantastic local development environment tool. It allows you to leverage the complexity of Docker without having to be an expert. The tools integrate well with typical PHP development workflows, and the documentation is concise while descriptive. The most important part of a local development environment is that Lando got out of my way. I felt immediately productive and didn’t have to struggle. If you run into trouble the docs also contain a troubleshooting guide as well as a list of known issues you might run into while using Lando. Lando is a great solution to a very difficult problem: keeping developers happy while building applications, I would certainly recommend it as a tool in your toolbox.
Warning:
This post content may not be current, please double check the official documentation as needed.
This post may also be in an unedited form with grammatical or spelling mistakes, purchase the November 2022 issue from http://phparch.com for the professionally edited version.
As Seen On
Recent Posts
- PHP to Rust via Copilot
- Compiling Python 3.12 from Source Tarball on Linux
- HTML Form Processing with PHP - php[architect] Magazine August 2014
- The Workshop: Local Dev with Lando - php[architect] Magazine November 2022
- Getting back into the swing of things
- All Posts
Categories
- ansible
- apache
- applesilicon
- aws
- blackwidow
- cakephp
- community
- composer
- conferences
- copilot
- data-storage
- day-job
- devops
- docker
- fpv
- general
- github
- givecamp
- homestead
- jigsaw
- joindin
- keyboard
- laravel
- learning
- linux
- maker
- mamp
- mentoring
- music
- nonprofit
- opensource
- packages
- php
- phparch
- projects
- provisioning
- python
- razer
- rust
- s3
- security
- slimphp
- speaking
- static-sites
- storage
- testing
- tiny-whoop
- today-i-learned
- training
- ubuntu
- vagrant
- version-control
- windows
- writing
- wsl
- wsl2
- zend-zray