The Workshop: CakePHP Part One - php[architect] Magazine June 2018
Joe • August 23, 2020
learning packages phparch writing cakephpWarning:
This post content may not be current, please double check the official documentation as needed.
This post may also be in an unedited form with grammatical or spelling mistakes, purchase the June 2018 issue from http://phparch.com for the professionally edited version.
The Workshop: CakePHP - Part 1
by Joe Ferguson
Welcome to the first installment of The Workshop, a column where we try out new tools and techniques to hone our craft as developers. We'll be covering frameworks, packages, tools, and exploring topics related to the PHP development ecosystem.
This month we're going to jump into CakePHP. CakePHP has recently released version 3.6 of their full stack framework. CakePHP started out as a rapid application development framework in 2005. The CakeDC organization, the commercial entity behind the framework hosts an annual conference CakeFest. CakeDC also offers formal training and consulting services to ensure your project will be supported for the years to come. Over the years CakePHP has continued to improve and build a large community of developers and contributors. My first experience was with version 2.x and taught me quite a bit about pre composer PHP. The ability to easily scaffold large amounts of code was the best feature for me at the time. Version 3.0 saw the introduction of an ORM using the Datamapper design pattern and improved query building. With version 4.0 on the horizon it's never been a better time to explore CakePHP.
Whenever I start investigating a new framework I have a small application in mind that I like to build to get an idea how the framework brings everything together. We're going to build an application that sells widgets. We'll need some create, update, delete (CRUD) functionality around our widgets as well as database tables to store our information. We'll also need a display page where a visitor can purchase a widget from our store.
Creating the project
Like any modern PHP framework CakePHP depends heavily on composer. If a PHP package, framework, or library is not utilizing Composer, you should probably avoid it (Or help contribute to bring the project into the modern PHP world). We'll start off by using Composer to create our project that we'll name cake-quickstart:
composer create-project --prefer-dist cakephp/app cake-quickstart
I'm going to go ahead and configure Laravel Homestead as my local development environment:
composer require --dev laravel/homestead
...
php vendor/bin/homestead make
vagrant up
As we inspect the folder structure of our fresh CakePHP 3.6 project we'll notice that a folder we're used to seeing in our PHP projects is missing: public/. Because CakePHP uses the name webroot/ instead of public as many frameworks utilize. We'll want to keep it mind when we configure our local development environment to serve from the webroot/ folder in our project. Here is an example Homestead.yaml configuration file for our CakePHP project:
ip: 192.168.10.10
memory: 2048
cpus: 1
provider: virtualbox
authorize: ~/.ssh/id_rsa.pub
keys:
        - ~/.ssh/id_rsa
folders:
    -
        map: /path/to/cake-quickstart
        to: /home/vagrant/cake
sites:
    -
        map: cake.test
        to: /home/vagrant/cake/webroot
databases:
        - homestead
name: cake
hostname: cake
Configuring CakePHP
Once our development environment is up and running we can visit http://cake.test and see the default start page.
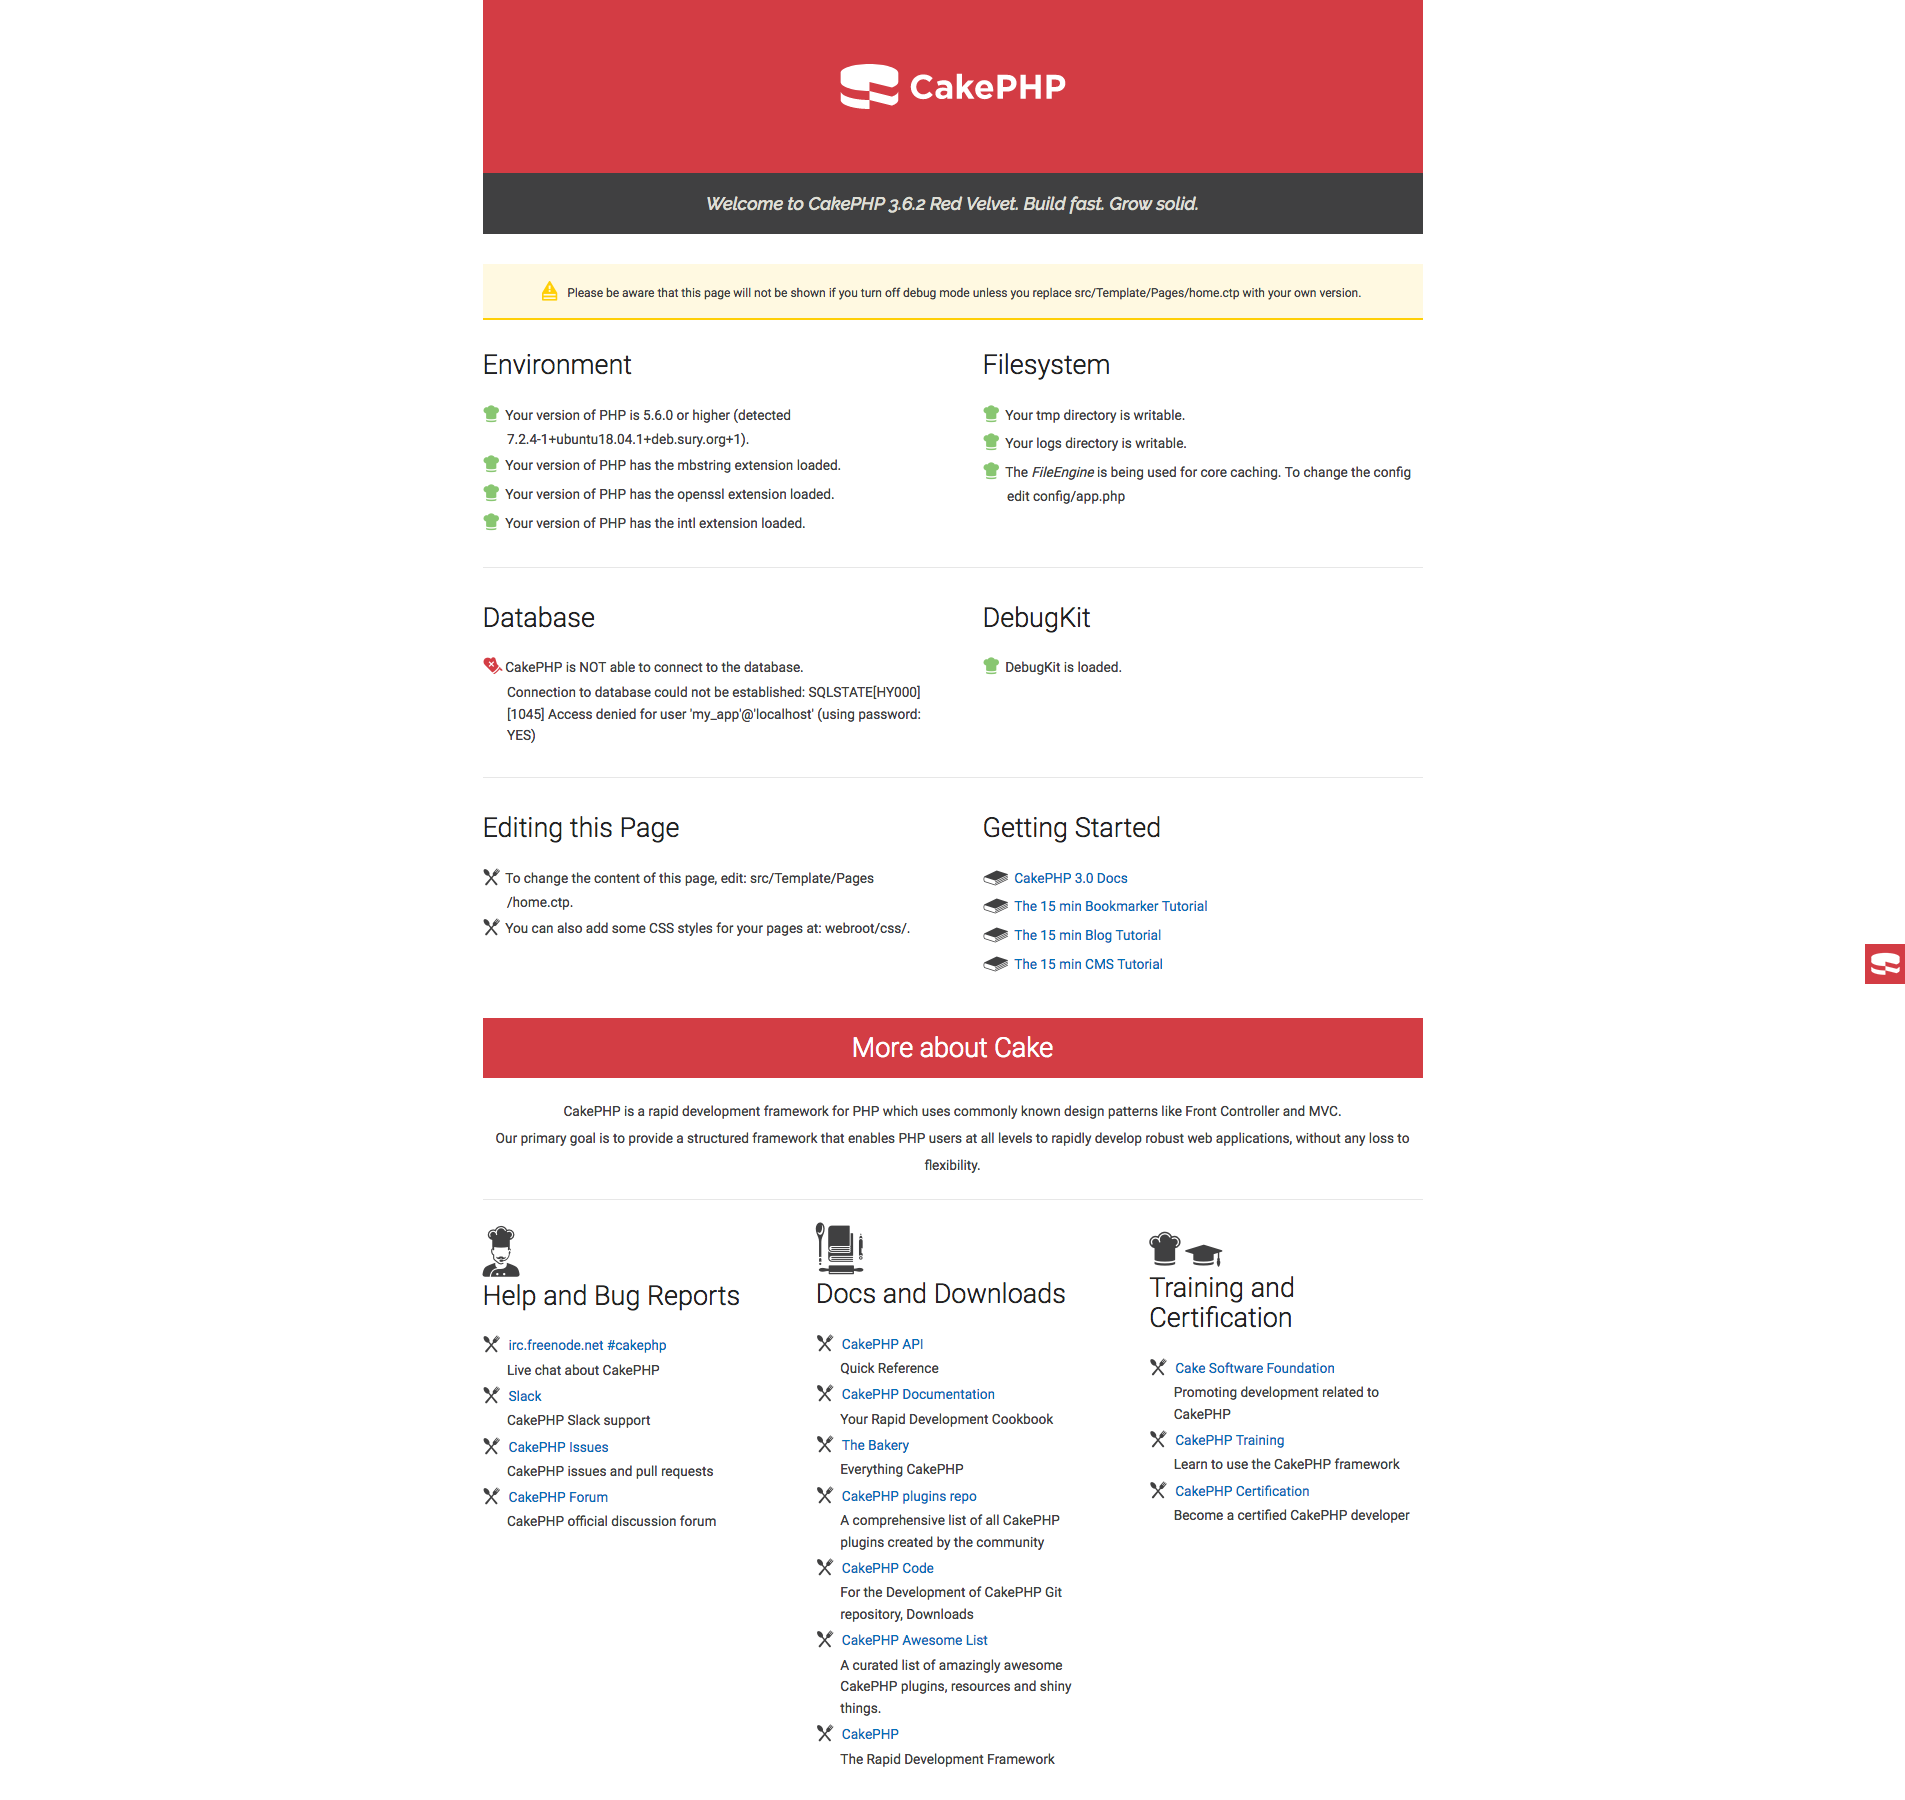
The default start page tests for several things such as proper file permissions, whether or not the environment is suitable for CakePHP, as well as database connectivity. As you can see we currently cannot connect to our database because we need to tell our project what credentials the development environment expects.
The primary configuration file can be found at config/app.php. The database settings can be found in the Datasources array where we'll specify our database settings. Here is a snippet of the configuration file:
'Datasources' => [
    'default' => [
        'className' => 'Cake\Database\Connection',
        'driver' => 'Cake\Database\Driver\Mysql',
        'persistent' => false,
        'host' => 'localhost',
        'username' => env('DB_USER'),
        'password' => env('DB_PASS'),
        'database' => env('DB_NAME'),
We shouldn't store the actual credentials in version control so we're using env() to read from config/.env, which should not be version controlled. Copy /config/.env.default to config/.env and add the following:
export DB_USER="homestead"
export DB_PASS="secret"
export DB_NAME="homestead"
In the config/bootstrap.php file, make sure you un-comment the block below to enable the .env file:
if (!env('APP_NAME') && file_exists(CONFIG . '.env')) {
    $dotenv = new \josegonzalez\Dotenv\Loader([CONFIG . '.env']);
    $dotenv->parse()
     ->putenv()
     ->toEnv()
     ->toServer();
}
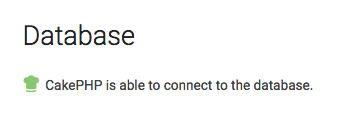
Now that we have the correct database credentials we can refresh the application in our browser and see that CakePHP shows that it can connect to our database now:
Currently if you have any warnings on the page you should look into getting those resolved before continuing. Using Laravel Homestead should provide a good starting place for local development but if you would rather avoid Vagrant, use whatever local development environment your used to. Check out the CakePHP docs for further debugging steps.
The CakePHP Request Cycle
A high level look at the typical request to a CakePHP application looks similar to other full stack frameworks. The incoming request is passed to webroot/index.php where the application is loaded. The middleware is compliant with PSR-7 so if you have worked with middlewares in other frameworks or projects chances are good you're already familiar with the process. If you are brand new to middleware don't worry! The request passes through the middleware and if no the response is returned by any middlewares then the request is passed to a controller and an action. The controller's action will be called and will interact with any required Models or Components (other classes or services in your application). The controller will pass off response duties to the View which will generate the appropriate output based on the request and any data gathered or computed. Views have helpers and cells which generate header information and response body for you. The response is now sent back through the middleware chain and the result is returned by the web server.
Routes
You'll find our application's routes in the config/routes.php with some default boilerplate that configures the default / home route to a controller.
$routes->connect('/', [
    'controller' => 'Pages',
    'action' => 'display',
    'home'
]);
The Router::scope() call is a way that CakePHP groups routes together. If you're application is going to grow to a large number of routes the CakePHP docs suggest you use scope to group your routes for better performance. For example:
Router::scope('/widgets', function (RouteBuilder $routes)
{
    $routes->connect('/', [
        'controller' => 'Widgets',
        'action' => 'index',
    ])->setMethods(['GET']);

    $routes->connect('/widgets/:id', [
        'controller' => 'Widgets',
        'action' => 'view',
        'view'
    ])->setPass(['id'])->setPatterns([
        'id' => '[0-9]+',
    ])->setMethods(['GET']);
});
If you are already in the habit of grouping routes from other frameworks and router packages the syntax will seem familiar. If you find the scope closure confusing you can also use the connect() method:
$routes->connect('/', [
    'controller' => 'Pages',
    'action' => 'display',
    'home'
]);
Looking at the route connect() method we can see the method takes two parameters: the route we wish to listen for and an array of options which describe to the router how to respond to the route. The controller index of the options array is the name of the controller the request will be dispatched to. Since we are pointing our / route to a controller named Pages we can find that controller in src/Controller/PagesController.php. The action key names the method in the Pages controller that will be used for the request. The last item in our options array is the name of the view file that should be used. In the example we have home as the view file, which can be found in src/Template/Pages/home.ctp. In my experience if you are going to return an HTML template you should always specify the view name.
Route Parameters
We'll need to pass some parameters into our methods from our routes such as the case of viewing one of our widgets. We would expect to be able to view a widget with the id of 100 via the URL: /widgets/100. We'll use route parameters in our connect() method:
$routes->connect('/widgets/:id', [
    'controller' => 'Widgets',
    'action' => 'view',
    'view'
])->setPass(['id'])->setPatterns([
    'id' => '[0-9]+',
]);
Using setPatterns() also allows us to provide a regular expression that the incoming value must match for the specified field. With our example the field must be a positive integer.
Route Methods
So far in the code we've looked at we haven't specified any HTTP methods so our two routes will respond to all of them. In order to limit a route to only respond to a specific method we can specify which to respond to:
$routes->connect('/widgets/:id', [
    'controller' => 'Widgets',
    'action' => 'view',
    'view'
])->setPass(['id'])->setPatterns([
    'id' => '[0-9]+',
])->setMethods(['GET']);
Now our widget view route will only respond to GET requests. Routes that need to support POST would use: ->setMethods(['POST']).
The cake CLI
Before we jump into databases we should review the CLI component to CakePHP: cake. Our project has a bin/ folder which contains the binary files that make up the cake command. Similar to Laravel's artisan command, cake is the CLI interaction point with the CakePHP framework. You can use it to generate files, run a local server, and more.
$ ./bin/cake
No command provided. Choose one of the available commands.

Current Paths:

* app:  src
* root: /home/vagrant/cake
* core: /home/vagrant/cake/vendor/cakephp/cakephp

Available Commands:

- bake
- benchmark
- cache
- completion
- console
- whitespace
- help
- i18n
- migrations
- orm_cache
- plugin
- routes
- schema_cache
- server
- version

To run a command, type `cake shell_name [args|options]`
To get help on a specific command, type `cake shell_name --help`
Database
Before we can start working with our database we need to write some migrations to create our schema. CakePHP supports database migrations via the Migrations plugin. A default CakePHP installation already has the plugin installed however we need to enable it by adding Plugin::load('Migrations'); to the end of the file config/bootstrap.php
You can read more about CakePHP Plugins in the official documentation
We're going to create a default, empty migration to create our widgets table for storing information about the widgets we plan to offer in our application. We'll use the cake command to generate the file for us:
$ bin/cake migrations create CreateWidgetsTable
using migration paths
- /home/vagrant/cake/config/Migrations
using seed paths
- /home/vagrant/cake/config/Seeds
using migration base class Migrations\AbstractMigration
using alternative template /home/vagrant/cake/vendor/cakephp/migrations/src/Template/Phinx/create.php.template
created config/Migrations/20180514192649_create_widgets_table.php
renaming file in CamelCase to follow CakePHP convention...
renaming file in CamelCase to follow CakePHP convention...
File successfully renamed to /home/vagrant/cake/config/Migrations/20180514192649_CreateWidgetsTable.php
As you can see from the output of the cake migrations create command CakePHP Migrations plugin is a wrapper around the Phinx package. Phinx is a fantastic package for building database migrations.
Now we can inspect our migration file located at config/Migrations/20180514192649_CreateWidgetsTable.php and start filling out the columns we'll want for our Widgets: name, description, price, created, and modified. Created and modified fields will show us when the row was created and last modified. Cake handles these last two fields for you as well as the automatic incrementing id field.
public function change()
{
    $table = $this->table('widgets');
    $table->addColumn('name', 'string', [
        'default' => null,
        'limit' => 255,
        'null' => false,
    ]);
    $table->addColumn('description', 'text', [
        'default' => null,
        'null' => false,
    ]);
    $table->addColumn('price', 'float', [
        'default' => null,
        'null' => false,
    ]);
    $table->addColumn('created', 'datetime', [
        'default' => null,
        'null' => false,
    ]);
    $table->addColumn('modified', 'datetime', [
        'default' => null,
        'null' => false,
    ]);
    $table->create();
}
Each column gets its own addColumn() call with the name of the column as the first parameter, the type as the second, then an array of options. Now that we're ready to run our migration we go back to the cake command:
$ bin/cake migrations migrate
using migration paths
- /home/vagrant/cake/config/Migrations
using seed paths
- /home/vagrant/cake/config/Seeds
using environment default
using adapter mysql
using database homestead

 == 20180514192649 CreateWidgetsTable: migrating
 == 20180514192649 CreateWidgetsTable: migrated 0.0487s

All Done. Took 0.0589s
using migration paths
- /home/vagrant/cake/config/Migrations
using seed paths
- /home/vagrant/cake/config/Seeds
Writing dump file `/home/vagrant/cake/config/Migrations/schema-dump-default.lock`...
Dump file `/home/vagrant/cake/config/Migrations/schema-dump-default.lock` was successfully written
With our database table widgets empty, we can create a seeder file to use to seed sample data into our table:
$ ./bin/cake bake seed Widgets

Creating file /home/vagrant/cake/config/Seeds/WidgetsSeed.php
Wrote `/home/vagrant/cake/config/Seeds/WidgetsSeed.php`
Instead of relying on us the developers to create fake data, I recommend you install the Faker library to help with this:
composer require fzaninotto/faker
Using Faker, we can create realistic sample data in our application without having to copy real data from production:
public function run()
{
    $faker = Faker\Factory::create();
    $data = [];
    for ($i = 0;$i < 100;$i++)
    {
        $data[] = [
            'name' => 'Widget ' . $faker->word,
            'description' => $faker->paragraph,
            'price' => $faker->randomFloat(2, 0, 4),
            'created' => date('Y-m-d H:i:s'),
            'modified' => date('Y-m-d H:i:s'),
        ];
    }

    $this->insert('widgets', $data);
}
In order to run our database seed we'll go back to the cake CLI tool:
$ bin/cake migrations seed
using migration paths
- /home/vagrant/cake/config/Migrations
using seed paths
- /home/vagrant/cake/config/Seeds
using migration paths
- /home/vagrant/cake/config/Migrations
using seed paths
- /home/vagrant/cake/config/Seeds
using environment default
using adapter mysql
using database homestead

 == WidgetsSeed: seeding
 == WidgetsSeed: seeded 0.1160s

All Done. Took 0.1258s
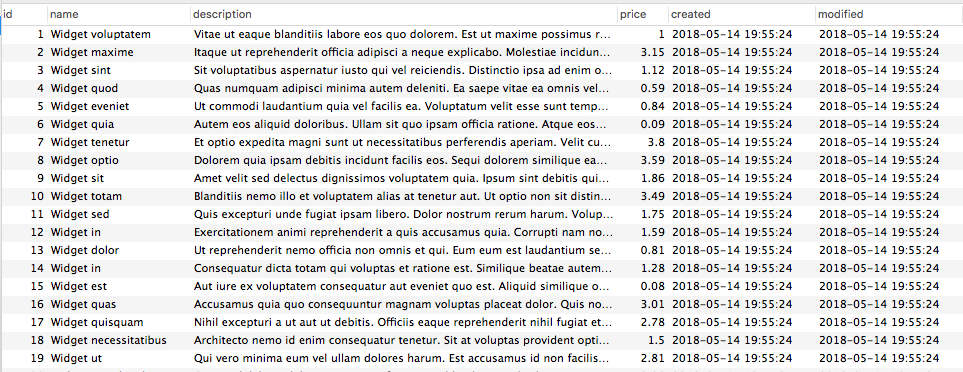
We can use a GUI tool to inspect our database:
In order to display data from our database let's create a widgets index route which will show all the widgets we have stored in the database. Since we have not yet covered views and templates, we'll dump everything out as JSON for now.
Add the index route (config/routes.php):
$routes->connect('/widgets/', [
    'controller' => 'Widgets',
    'action' => 'index',
])->setMethods(['GET']);
To get access to our widgets table, we need to use $this->getTableLocator and pass in which table we want. Then we can run our find query which returns a collection object that we can iterate over. Instead of iterating over the results we're going to use toArray() to push all of the results into an array for us to JSON encode and add to our response object.
Add our WidgetsController method:
public function index()
{
    $widgets = $this->getTableLocator()->get('Widgets');
    $results = $widgets->find()->toArray();

    return new Response([
        'type' => 'json',
        'body' => json_encode($results)
    ]);
}
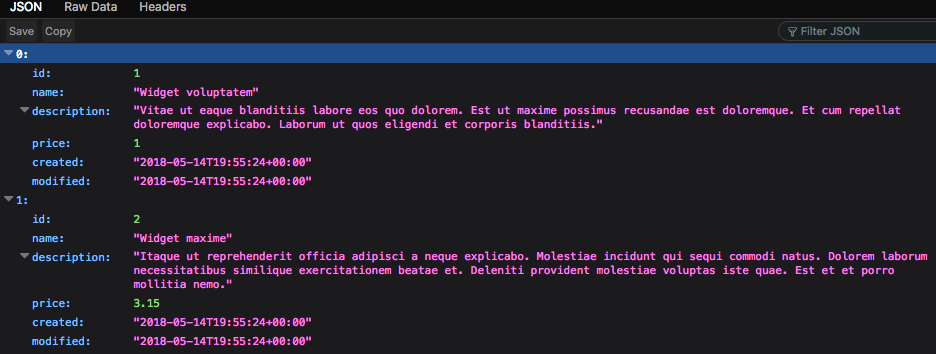
Now we can see our JSON results in the browser when we open the /widgets URL:
Conclusion
We covered the basics of CakePHP and how to get started creating routes, controllers, database tables, and retrieving data. Next month for Part 2 we'll cover returning HTML views, creating and validating forms to create and update widgets, and more!
Happy baking!
Warning:
This post content may not be current, please double check the official documentation as needed.
This post may also be in an unedited form with grammatical or spelling mistakes, purchase the June 2018 issue from http://phparch.com for the professionally edited version.
As Seen On
Recent Posts
- PHP to Rust via Copilot
- Compiling Python 3.12 from Source Tarball on Linux
- HTML Form Processing with PHP - php[architect] Magazine August 2014
- The Workshop: Local Dev with Lando - php[architect] Magazine November 2022
- Getting back into the swing of things
- All Posts
Categories
- ansible
- apache
- applesilicon
- aws
- blackwidow
- cakephp
- community
- composer
- conferences
- copilot
- data-storage
- day-job
- devops
- docker
- fpv
- general
- github
- givecamp
- homestead
- jigsaw
- joindin
- keyboard
- laravel
- learning
- linux
- maker
- mamp
- mentoring
- music
- nonprofit
- opensource
- packages
- php
- phparch
- projects
- provisioning
- python
- razer
- rust
- s3
- security
- slimphp
- speaking
- static-sites
- storage
- testing
- tiny-whoop
- today-i-learned
- training
- ubuntu
- vagrant
- version-control
- windows
- writing
- wsl
- wsl2
- zend-zray